Categories & Groups
Table of Contents
Overview
Categories allow you to organize all your activities! These include your actions, events, places, and surveys. When creating these activities, it is required that a category is created in order for you to store your content in an organized fashion. Once you have multiple activities placed in your category, you may notice that the activities will be grouped by their activity type (action, event, place, or survey). Please note if your activity is disabled, it will not appear inside the category.
Creating categories and editing them is made easy! You have the option to create, edit, delete, enable, or disable the categories all through the Admin portal.
Actions are sorted by creation date, with the oldest activity appearing at the top.
Places are sorted by distance from the user.
Events are sorted by date and only a handful are accessible via the category view, we have added a ‘show all’ button for users to quickly access all future and past events.
Surveys are sorted by creation date, with the oldest survey appearing at the top. If a survey is enabled before its ‘release date’ it will appear within the category but have a blank screen.

Daily Polls do not appear within categories and are only accessible via the home screen.
Chat/Connections a user will not earn credit towards a category for any form of messaging.
Posts to the Activity Feed a user will not earn credit towards a category for posting to the activity feed.
Comments a user will not earn credit towards a category for commenting on an activity or post.
Category Groups
Category groups allow you to organize a little more. You are able to group your categories and view them in a chart on your user’s profile. As a user starts completing activities inside the app, the category group chart will start filling up with points.
At least one group must be created before you can create a category. So if you decide not to use category groups you will need to create one that all categories will point to.
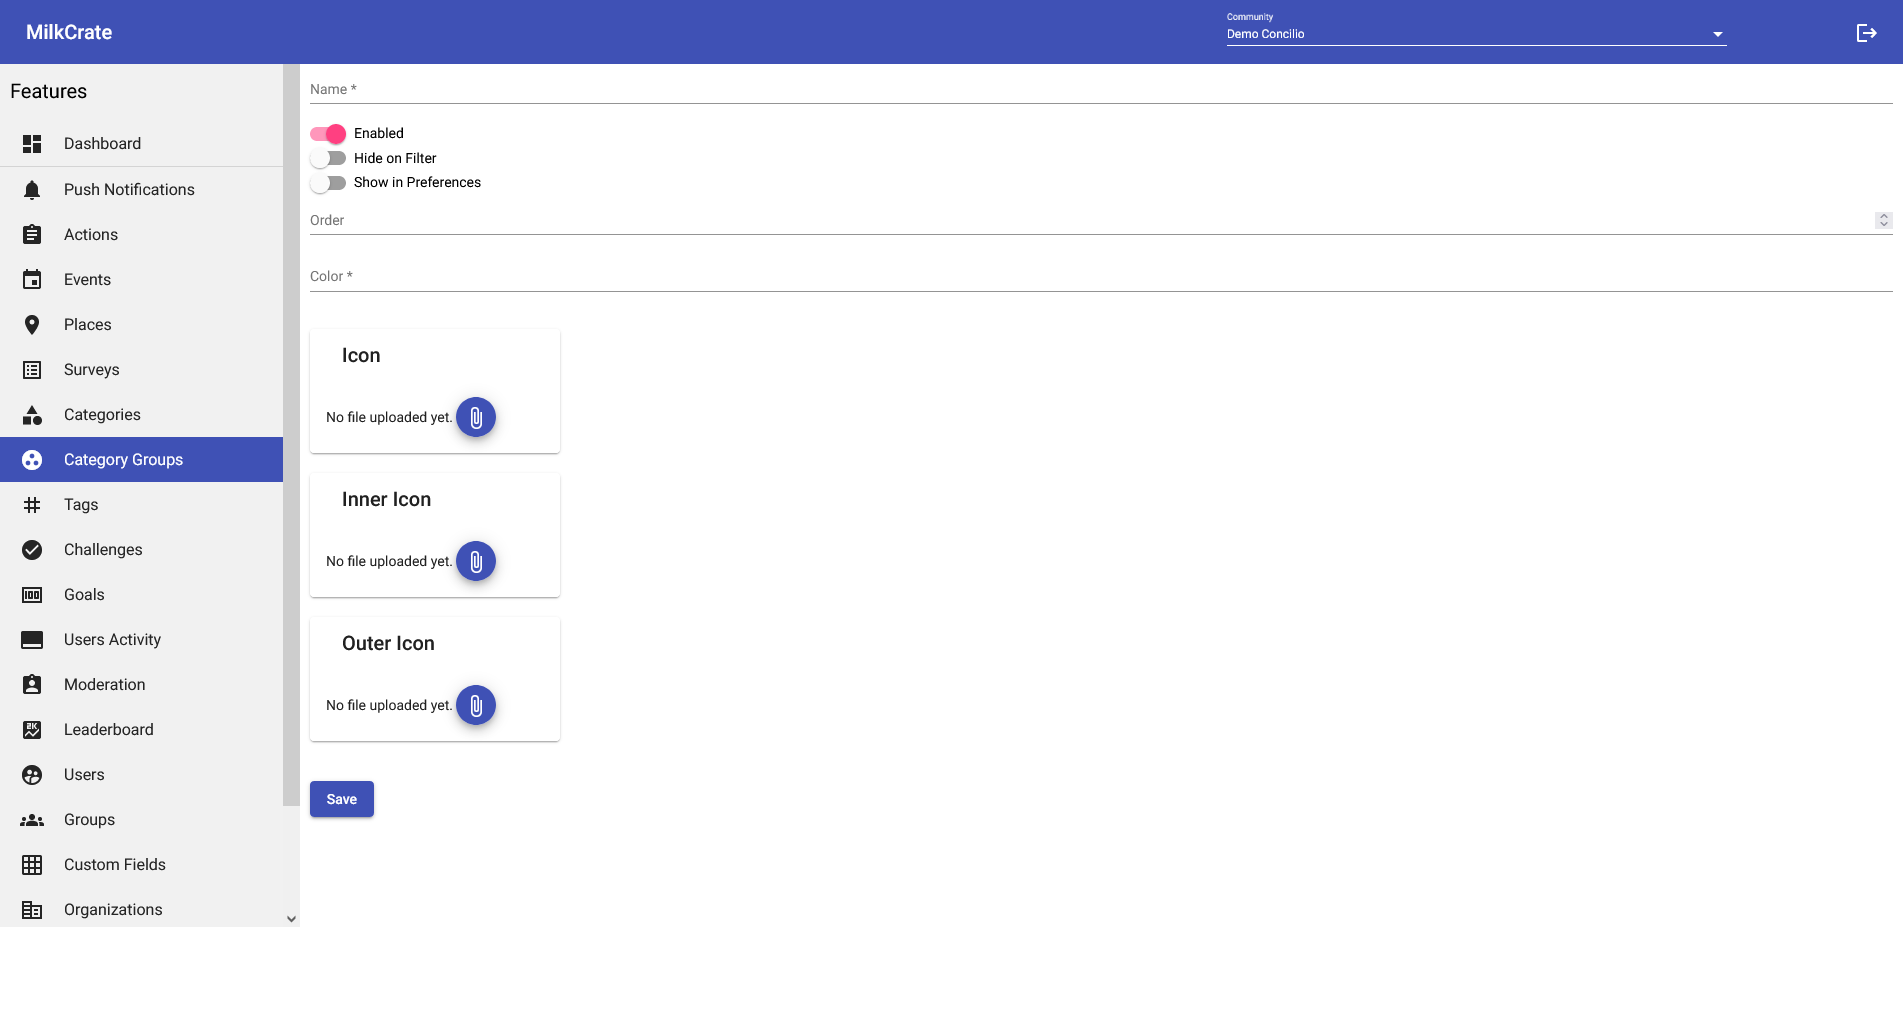
Name / Title Field
This will be the name/title given to your group.
Enabled Toggle
Typically you will keep your group enabled so that the user can see it. If you have a group that is not ready to be shown to users, keep your group disabled. Only enable it once you are ready for users to view your group.
Order
The order field is related to how your group appears in filter results. This field is not necessary to create your group(s) but will allow you to efficiently organize and filter a large number of groups.
An empty field or a "0" will allow your group to show up in the filtered results alphabetically. If you want your group to appear at the top of the filtered results you can enter "1." Numbers greater than "1" will list your group lower and lower in the filter results as the entered number gets higher.
Color
The color field requires a six-digit hex code (prefaced with a "#"). We recommend choosing a color consistent and identifiable with your brand. This color will appear in the pie chart at the bottom of the Profile page in your app.
Icon
An icon image is required in order for your group to be created. We recommend using images/icons that relate to the content users will find inside the group. The size of Icon should be ratio 64X64.
Inner Icon / Outer Icon
Both the images for the inner icon and outer icon will appear on the pie chart found at the bottom of the user's Profile page in your app.
How to Create Categories

Name / Title Field
This will be the name/title given to your category and is what shows on your app's home screen page.
Slug Field
A Slug is a unique part of the URL that identifies a page.
For this field, DO NOT include any capitalization or spaces. Dashes should be used to separate words. Ex. ‘about-our-organization’, ‘workshops’, ‘books-for-youth’
Category Group
Category groups allow you to organize your categories a little more, as well as populate a chart on the user’s profile. At least one group is needed in order to finish creating your category. See above for more info.
In order to select your category group, select it from the "Category Group" field drop-down menu.
Enabled Toggle
Typically you will keep your category enabled, that way the user can see it! If you have a category that is not ready to be shown to users because maybe you aren't finished or wanted to create a placeholder, keep your category disabled. Only enable it once you are ready for users to view your category.
Cover Image / Icon Image
A cover image/icon image is required in order for your category to be created. We recommend using images/icons that relate to the content users will find inside the category. Cover Image recommended size: 16:9 landscape. Icon recommended size: 64X64
Challenge Images
If you choose to highlight an action, event, or location as a challenge and do not upload a cover image for the activity, provide images here, and one of the following will display.
Others
(Button image, button image selected, icon, icon sticker): Please upload the same exact icon for all 4 fields.
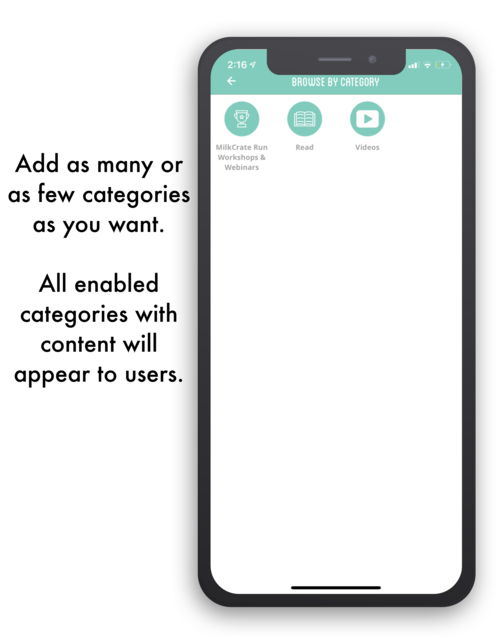
Creating Icons for Categories
Each category requires an icon that will appear on the activity and inside the ‘Browse by Category’ section. You may design your categories in whatever style you would like. Below are some tools for creating your category icons and some example category visuals. It is recommended to use images with a ratio of 64x64. If you want color added reach out to the support team at MilkCrate to assist you.
Noun Project: They have over 2 million icons royalty-free
Canva: Has some great icons under its elements section, this is a low-cost solution.
Sketch App Sources: If your designer uses Sketch here’s a great website.
Flaticon: This is not a tool our team has used personally but boasts about the number of icons accessible.
Issues
Once you create a category you will only be able to see it in the app once you add at least 1 action, place, or event. Refresh your app once you have made the correct changes. When you click to open the app you may see a loading circle indicating your app updating!
Check to see if your category is now visible on your home screen. If you click on your new category you should be directed to a page with any of the action(s), place(s), or event(s) that you have assigned.
Related Articles
6.2.0 Robust Surveys, User Groups & App Store Information
June 17, 2020 We are rolling out a major update to our survey system which includes a variety of new question types and the ability to view user responses via the Admin a big shout-out to VetTriage for making this possible. Additionally, we have been ...Groups
Table of Contents: Overview Joining Groups Creating Groups Managing Join Requests Overview Groups are a great way of making sure your members see your content and remain connected, as well as restricting who can actually join your group at any given ...Tools we use: Admin
Overview The Admin portion of any of the apps is usually the clients responsibility in terms of adding data like events,polls, actions or tracking user engagement. Something to keep in mind when dealing with admin is the difference between a client ...All sections within profile explained
Table of Contents Overview Admin User Profiles Client Admin Profile Fields 1/2 Profile Fields 2/2 Overview Instead of going into the app and tediously signing up with various accounts, you can manage and generate new users through the admin portal. ...Pin / Copy / Share
Table of Contents: Overview Creating Pinboards Overview In the top right-hand corner of every activity, there are three buttons. Pin: Users can pin their favorite activities and access them from the "More" section of the bottom navigation bar for ...