Event Fields Explained: All Fields
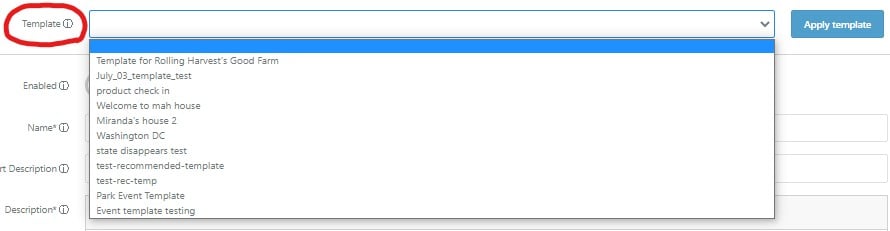
Template
This field allows the user to choose from a set of pre-existing event templates. These event templates can be created ahead of time in order to make the creation of new events easier. In essence, choosing one of the event templates will fill in the other fields to match the template.
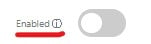
Enabled
Switching this toggle on will load the event onto your app. If the event is toggled off, users on your app will be unable to view the event or any of the information regarding the event.
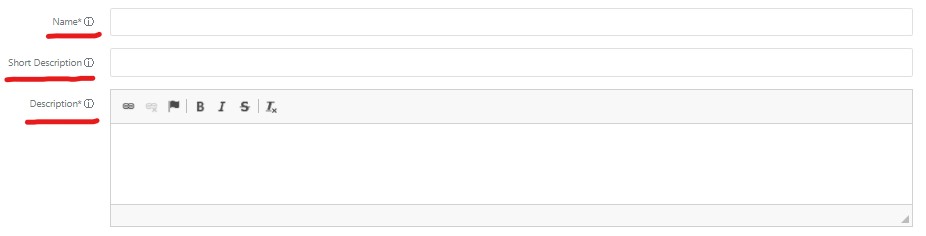
Name and Description
The name field is where you should input the title of your event, this is the title which will be viewed by your app's users.
There are two fields regarding description:
-
- Short Description: a concise message about what the event entails, used when users are not looking at the dedicated event page.
- Description: this field is where you can give more specific details about the event. This is the description which will be available to the user on the dedicated event page. Still, we recommend keeping this description to about 100 words.
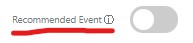
Recommended Events
Switching on this toggle on will label the event as "recommended." Events labeled as such are given priority in your app and displayed to the user above other events.
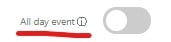
All Day Events
Switching this toggle on will turn the extend the event's time to last an entire day, as such as new field will appear (replacing the normal "date" field). Instead of asking for beginning an end end times, this new field will only ask for a date.
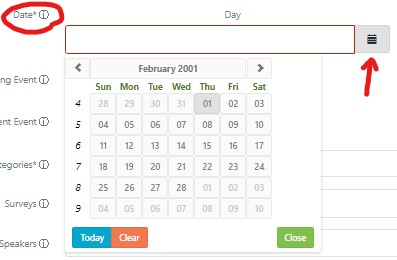
Date
This field is where you can input the specific date/time for your event. There are three separate input sections for this field:

-
- Day: you can manually input the date (year-month-day) or you may click on the calendar icon; clicking this will display a calendar and here you can choose between days.
- Day: you can manually input the date (year-month-day) or you may click on the calendar icon; clicking this will display a calendar and here you can choose between days.
-
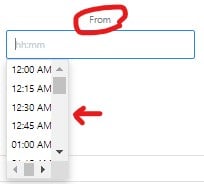
- From: this field is where you input your event's starting time. Clicking on the input area will open a drop-down menu and here you can choose between times.
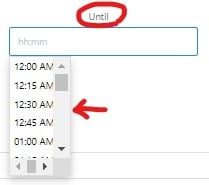
- Until: this field is where you input your event's ending time. Clicking on the input area will open a drop-down menu and here you can choose between times.
- From: this field is where you input your event's starting time. Clicking on the input area will open a drop-down menu and here you can choose between times.
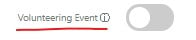
Volunteering Event
Switching this toggle on will label your event as a volunteering event; as such, users attending this event will have it counted towards their volunteering hours.
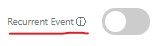
Recurrent Event
Switching this toggle on will make it so that your event recurs at a set interval. As a result of this switch being toggled on, three new input sections will appear:
-
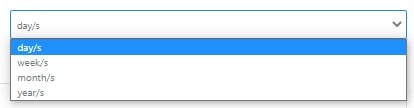
- Repeat Every: this input is where you will input the number associated with your repetition interval. It is tethered to the next input section (day/s). The default is set to day/s however this can be changed.

- Day/s: As mentioned above, this section defaults to day/s, however it can be changed to week/s, month/s, and year/s.
- Ends: this input field splits even further.
- Never: if this option is chosen then the event will continuously repeat on the previously set interval indefinitely.
- On: this option is chosen then a new field will appear (Ends On) and prompt you to choose a specific end date. The event will no longer recur after the selected end date. Similarly to the "date" field, you will be required to select both a date and time.
- After: selecting this option opens yet another field (After). This field determines the end based on how many times the event as occurred. If this option is selected, you should input the amount of times you want the event to occur.
- Repeat Every: this input is where you will input the number associated with your repetition interval. It is tethered to the next input section (day/s). The default is set to day/s however this can be changed.
Categories
When clicked, this field will display a drop-down menu from which you can select a category for your event to be labeled under.
Surveys
When clicked, this field will display a drop-down menu from which you can select a survey. This survey will then be displayed to users who participate in the event.
Cover Image
This field asks that you choose an image. This image can be uploaded from your device unto our system, once complete, the event will display the chosen image as your event's cover image.
Check-In Points
This field allows you to dictate how many points a user will receive from checking into an event.
Registration Points
This fields allows you to dictate how many points a user will receive from registering for an event.
Event Capacity
This field allows you to limit the amount of user who can register to attend an event. If left unaltered, there is no limit to how many users can sign up for the event.
Notify When People Cancel
Switching this toggle on will notify the community admins when users cancel their registration (via email).
Notify When Event Is Full
Switching this toggle on will notify the community admins when the event capacity has been reached (via email).
Segments
Clicking on this input will display a drop-down menu from which you can select one or more segments. Choosing segments will limited the event's visibility to only the users with those selected segments in their profile. Opting to leave this field untouched will allow the event to be viewed by all users regardless of their segments.
*Note: Website URL and Outside Registration URL are external links that may direct users to another page. These options may be applied for example, if your event is a digital event calling for a specific URL link.
Website URL
Links placed in this container will immediately direct users who register to the meeting site.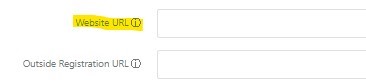
Outside Registration URL
Links placed in this container will direct users to the meeting site only once they have checked-in.
Event Type
This field requires some more in-depth explanation and has several variations in input configurations. Given that this field is subject to variable change, it has been split into two separate help articles which can be reached using the following links:
-
- Digital Event: explains variations in digital events
- In-Person Event: explains variations in in-perso n events
Related Articles
Event Fields Explained: Event Types (In-Person)
When creating an event one of the fields required is the "Event-Type" field. This functionality breaks events down into four sub-types of events—two in-person event types and two virtual event types. This article we will be focusing on the two ...Event Fields Explained: Event Type (digital events)
When creating an event one of the fields required is the "Event-Type" field. This functionality breaks events down into four sub-types of events—two in-person event types and two virtual event types. This article we will be focusing on the two ...All fields within a Location explained
Enabled Toggle Typically you will keep your locations enabled, that way the user can see it! If you have a location that is not ready to be shown to users because you aren't finished writing up the description or wanted to create a place holder keep ...All sections within profile explained
Table of Contents Overview Admin User Profiles Client Admin Profile Fields 1/2 Profile Fields 2/2 Overview Instead of going into the app and tediously signing up with various accounts, you can manage and generate new users through the admin portal. ...Managing Profile Fields
CONTENT Managing as a User Managing as an Admin Managing for specific User Groups As a User Users can manage their profile fields by heading over to their profile>settings cog>edit profile. As an Admin you get to decide what fields are available and ...