Google Data Studio
Table of Contents
What is Data Studio
Customer's First Data Request
Customers 2nd+ Data Request
Adding a Data Source
Data Base Info
Data Studio
If a customer has paid for additional data analysis we use a tool called Google Data Studio to sleuth through their data.
Here is a tutorial: https://analytics.google.com/analytics/academy/course/10
Customer's First Data Request
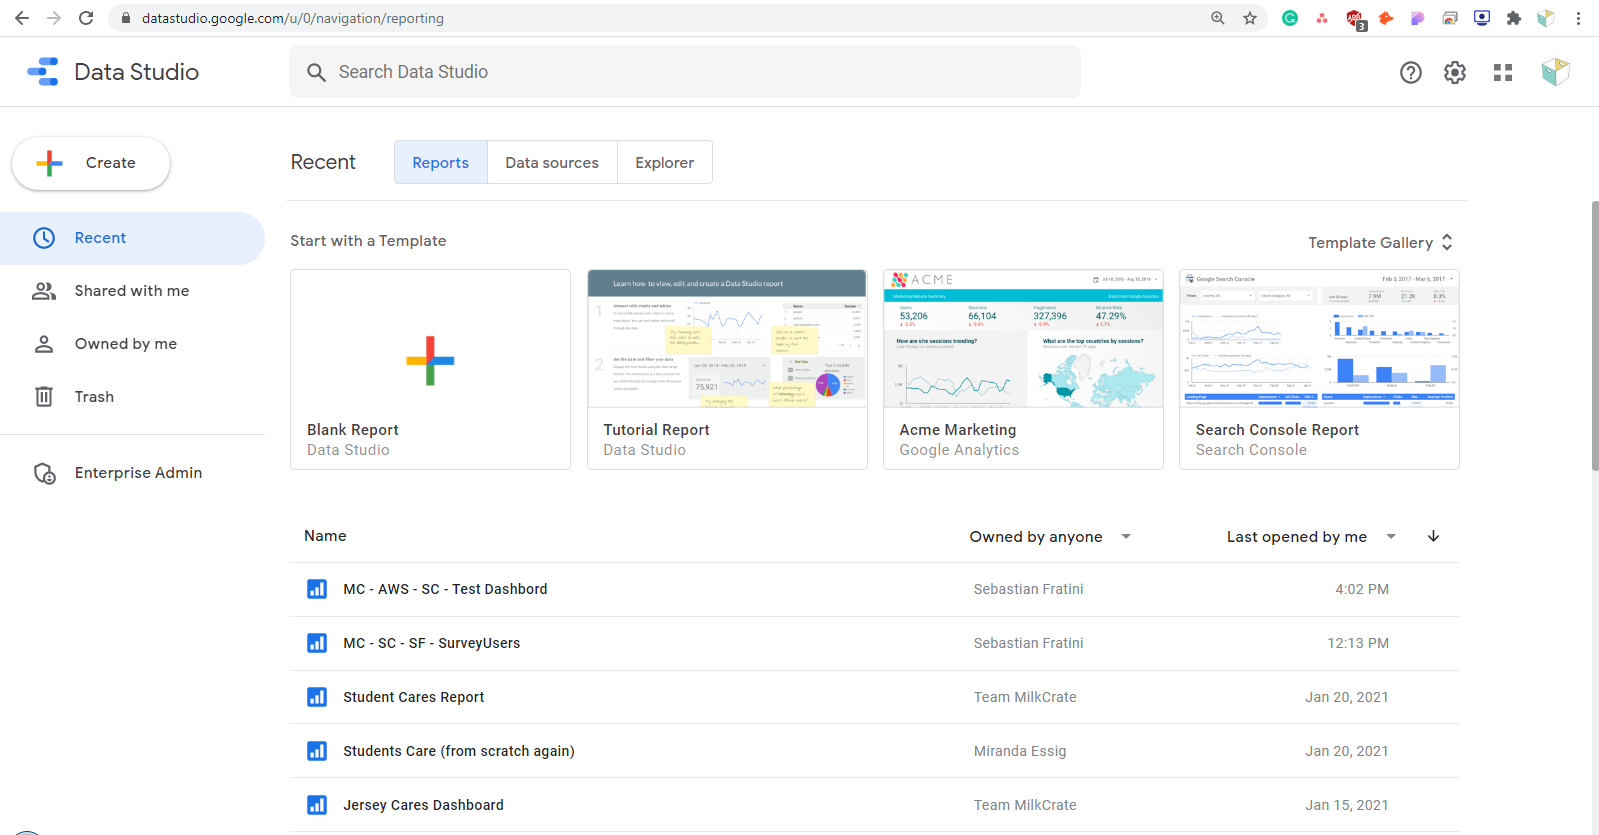
If this is the first time a customer has requested data services then we will have to notify the development team so they can create a password for our internal team to use. Once the development team has confirmed that a password has been generated you can go ahead and create a new report in Google Data Studio under the account support@milkcrate.tech
Customers 2nd+ Data Request
If this is not the first data request by a customer they should already have a report that can be accessed from the support@milkcrate.tech account.
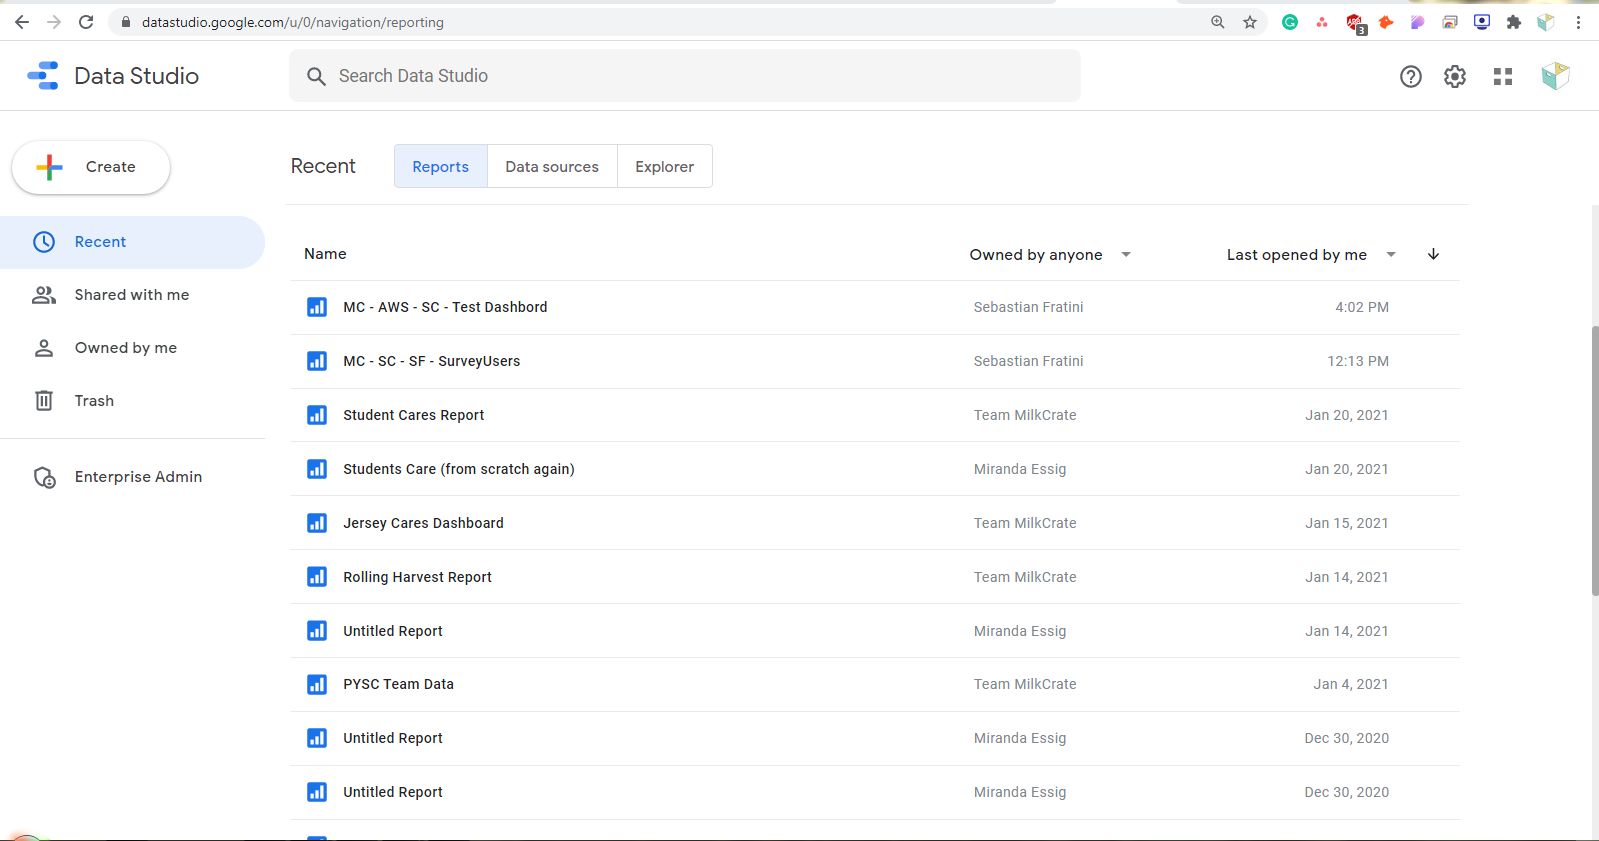
Adding a Data Source
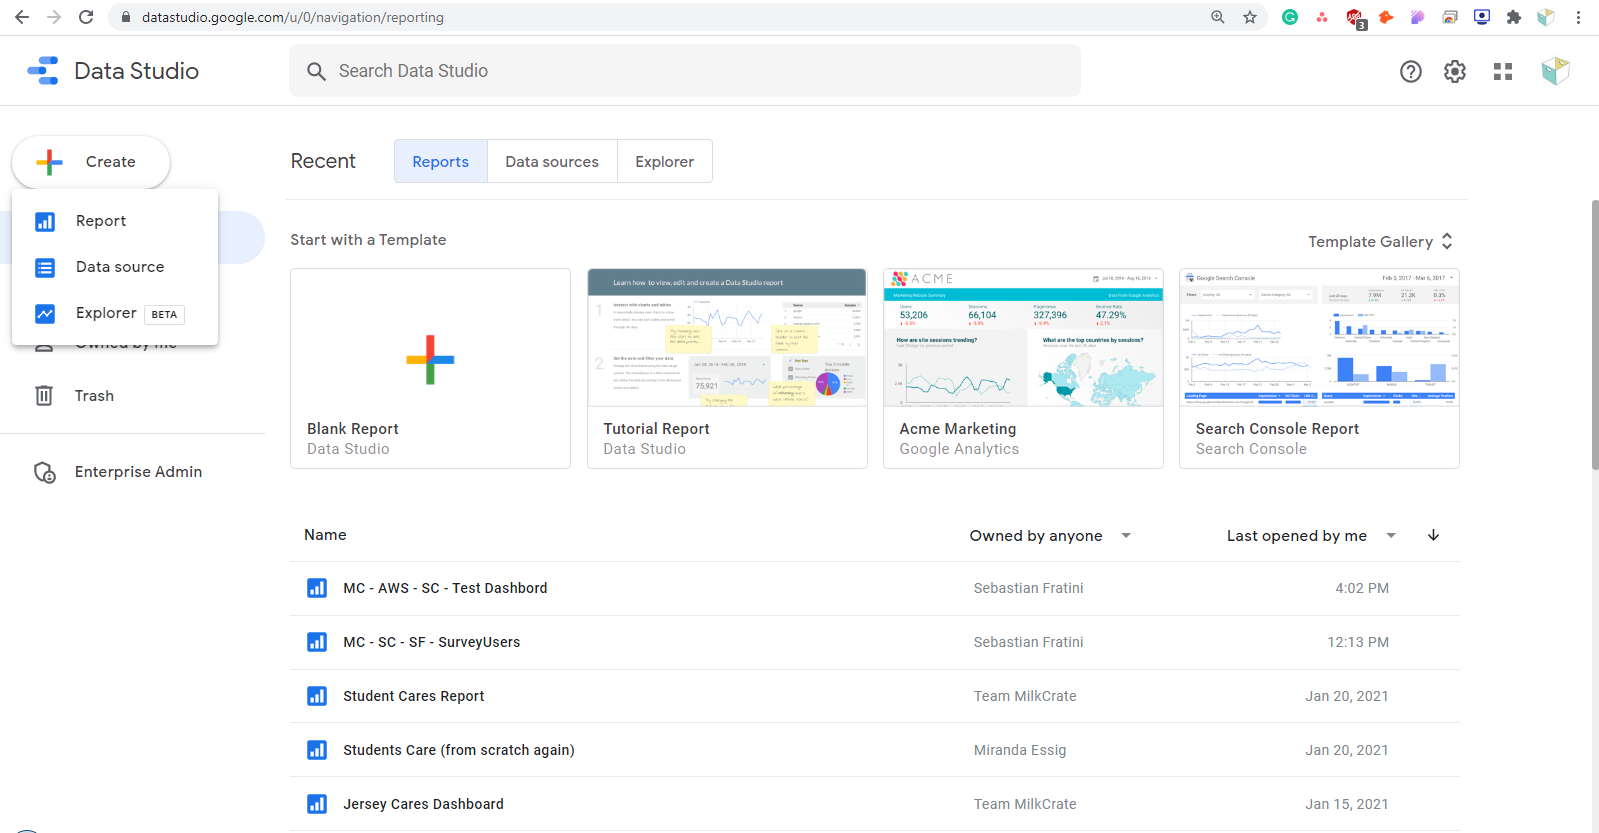
If this is the customer's first data request when you generate a new report it will immediately ask you for a data source. If the customer already has a report and the data that you need is not available then hit the "Add data" button when you are in the edit mode of a report.
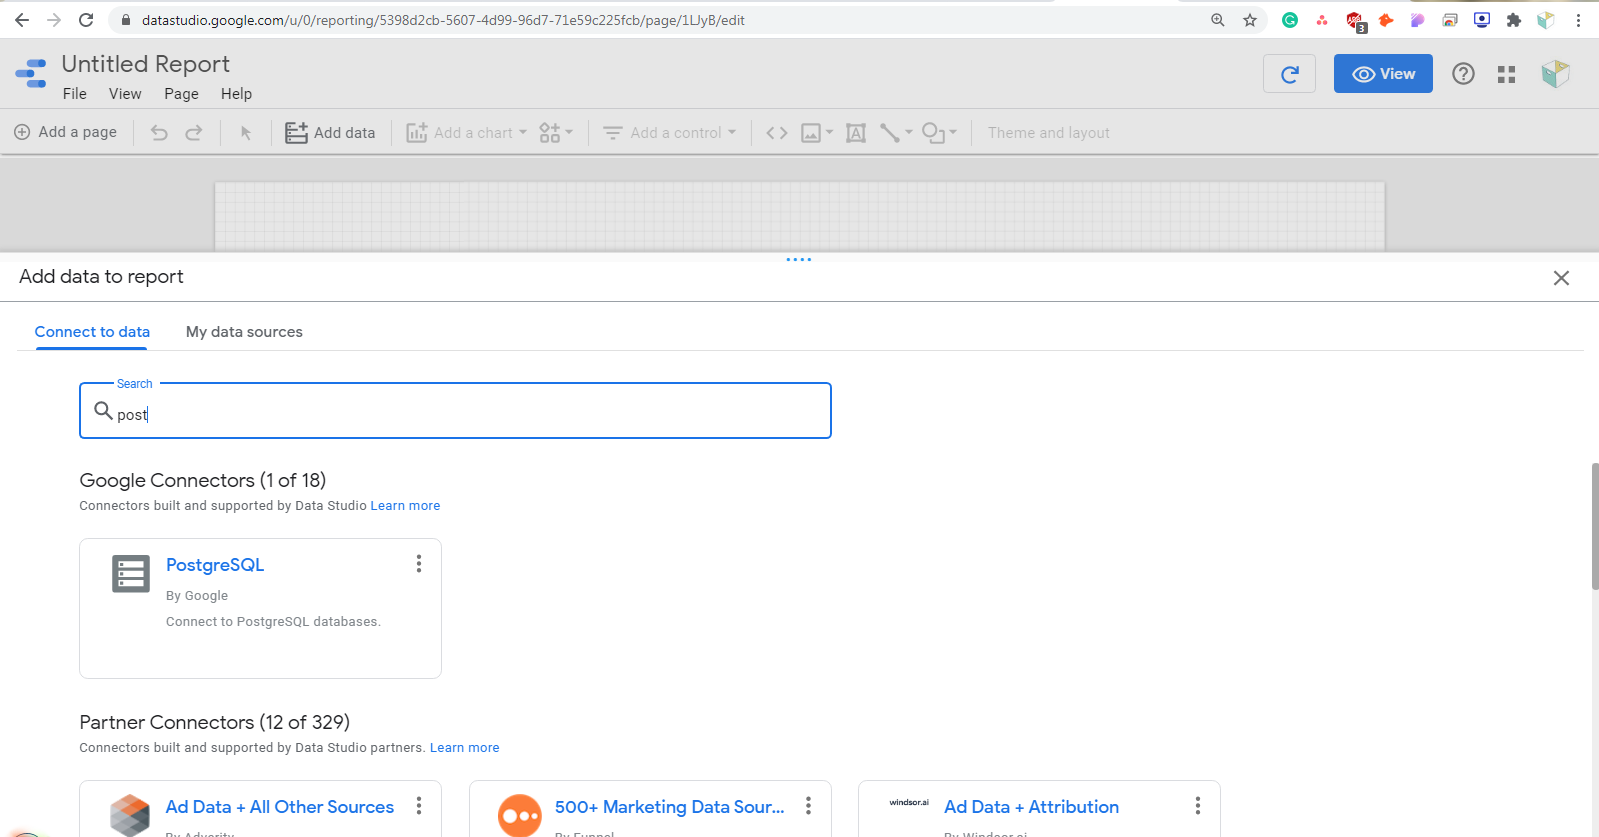
Step 1: Find the PostgreSQL Connector
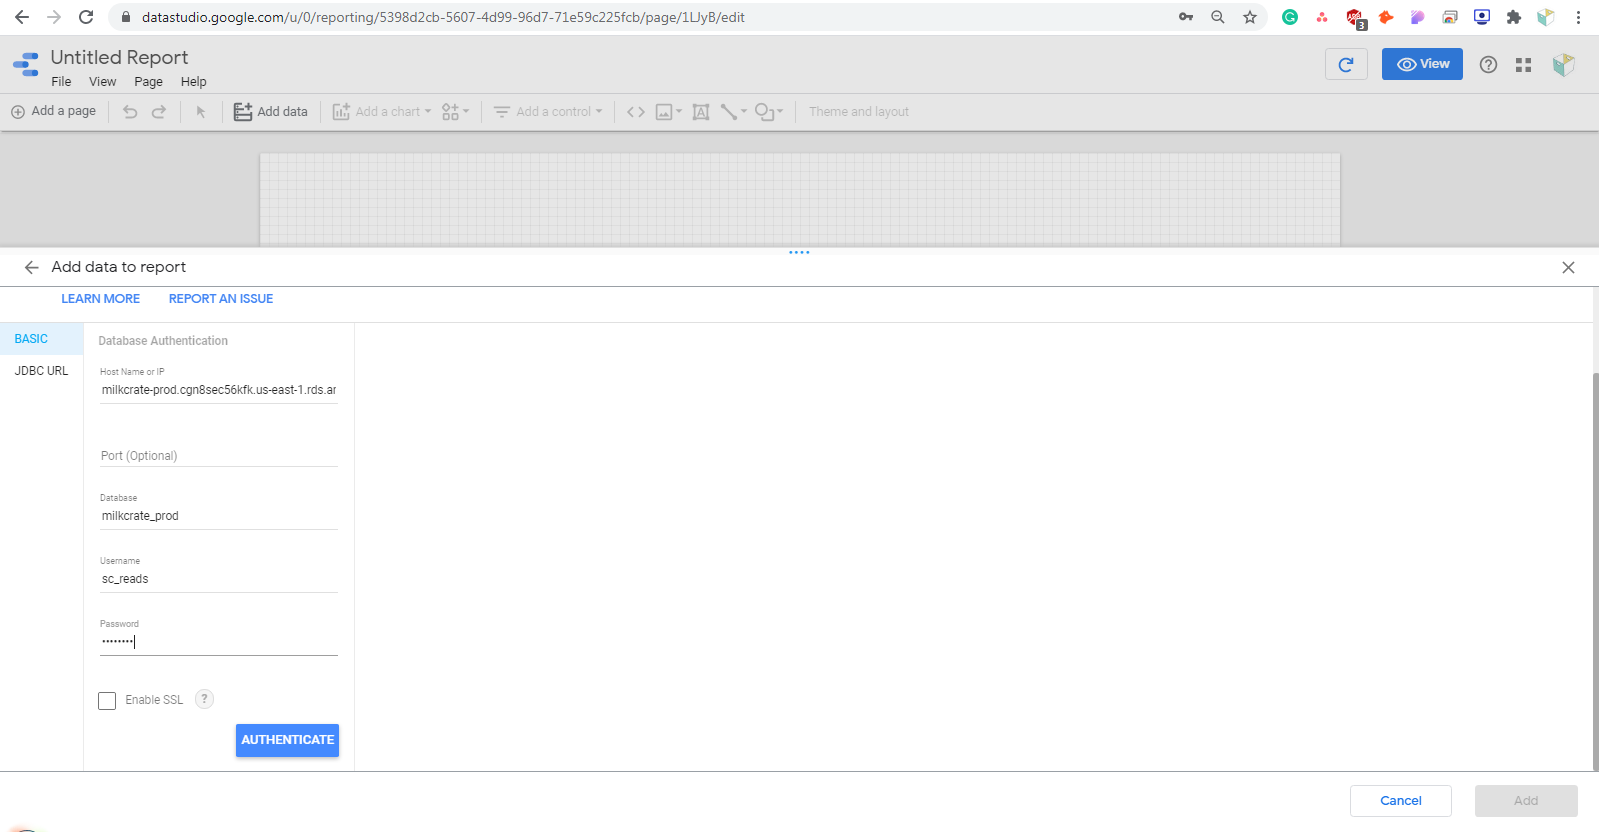
Step 2: Entering the customer's credentials
You will have to enter the following information.
Host Name: milkcrate-prod.cgn8sec56kfk.us-east-1.rds.amazonaws.com
Database: milkcrate_prod
User Name: (check password spreadsheet)
Password: (check password spreadsheet)
If you cannot find the customer on the password spreadsheet you will have to contact the development team.
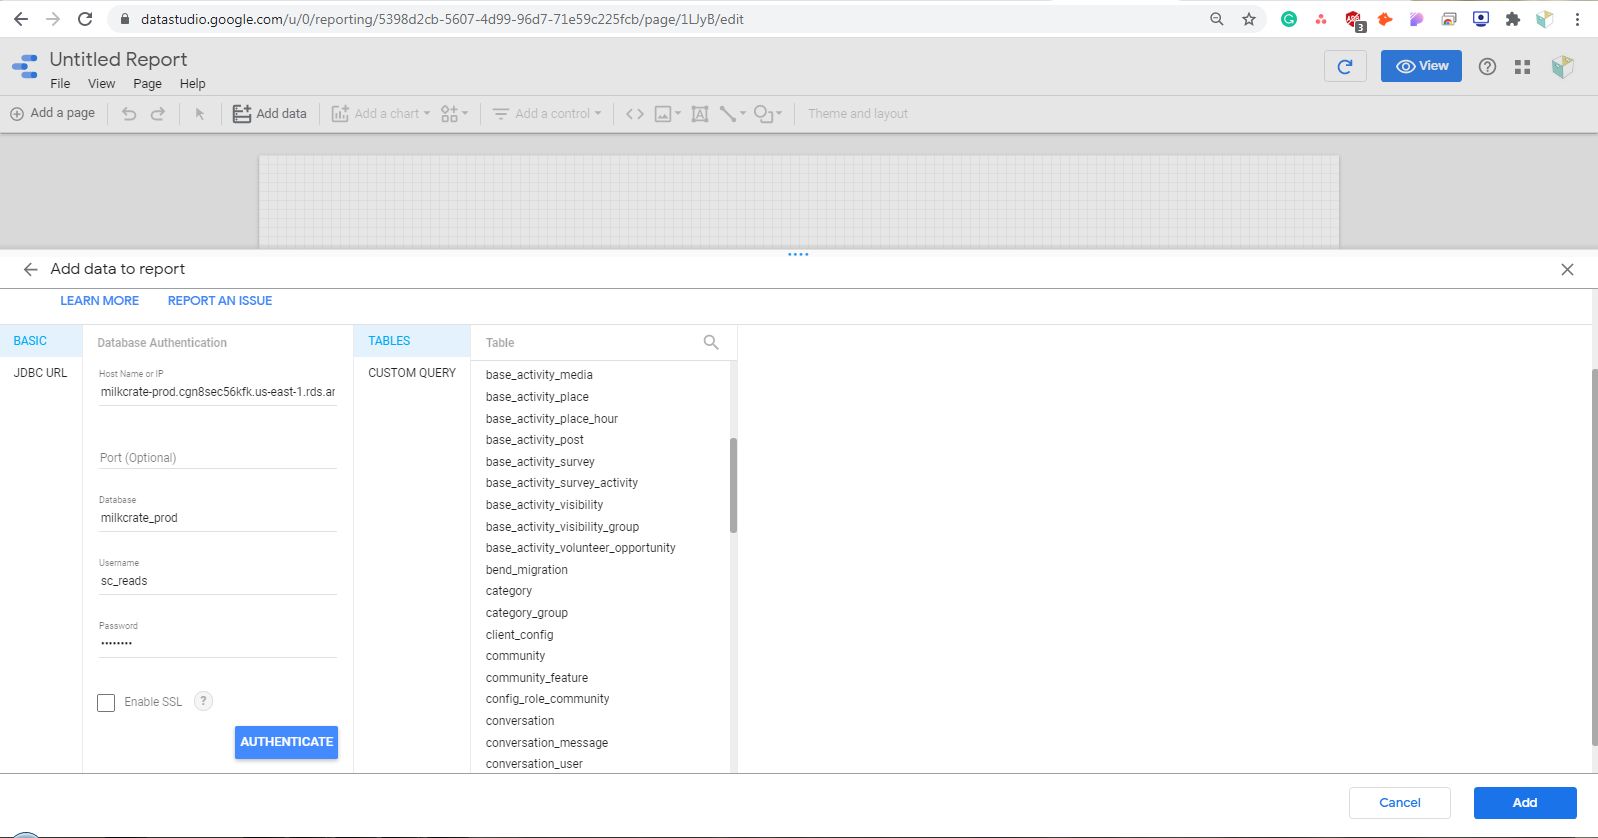
Step 3: Select the Table You Need
There are a wide range of tables from our database you can access from Data Studio. Anytime you need access to a new table you will have to hit the "Add data" button and repeat this process.
Step 4: Rename Data Source
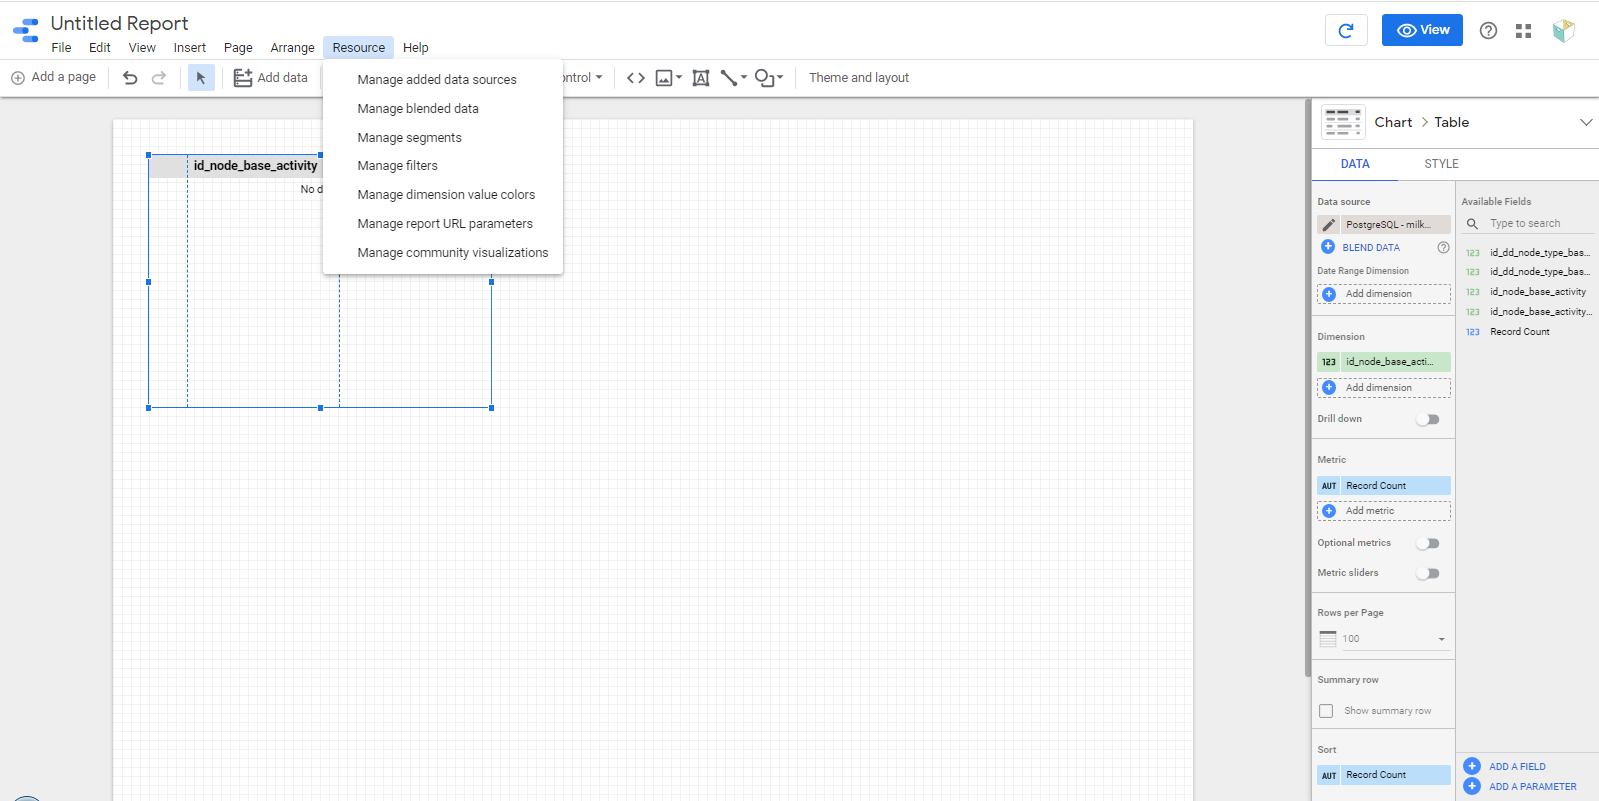
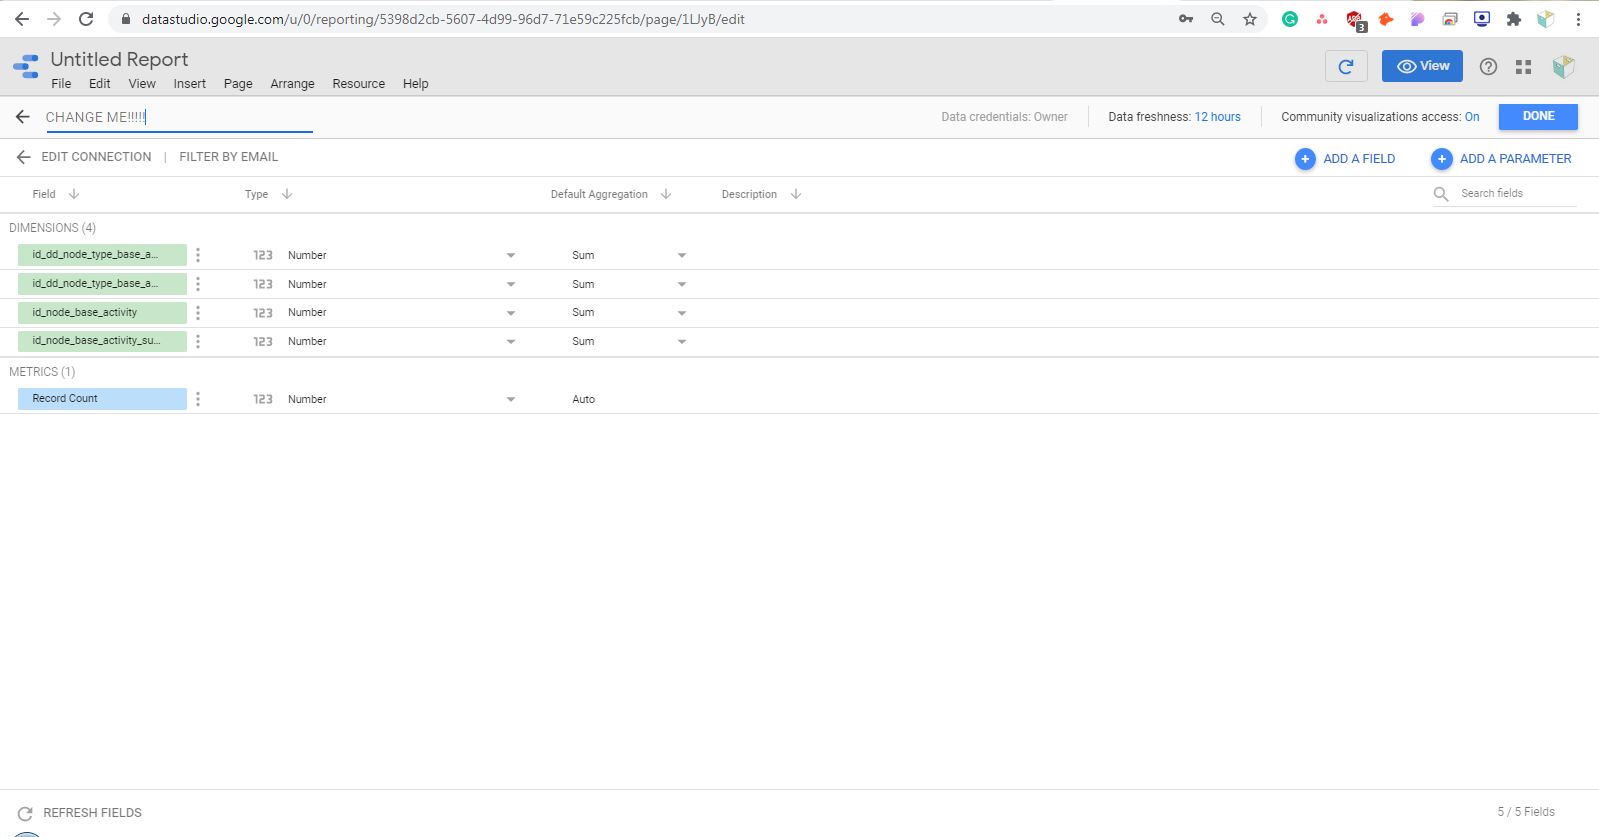
Immediately after you add a data source be sure to change the name inside the report by pressing on Resources>Manage added data sources. OTHERWISE, you will have a lot of data sources with the same exact name.