Places
Table of Contents
Map View/ Category View/ Place View
Overview
Our places and map feature allows you to store all the places that your users should be able to check-in at, rate, review, or know exist!
Places Fields
 Enabled Toggle
Typically, you will keep your locations enabled, that way the user can see it! If you have a location that is not ready to be shown to users because you aren't finished writing up the description or wanted to create a placeholder keep your location disabled. Only enable once you are ready for users to view your location!
Name / Title Field
This is what displays when a user views the location or place. It is also the portion of the location that our search engine in the app will pick up. So if a user searches "University City" this location would appear but if a user tried to search "November 24, 2020" nothing would show up.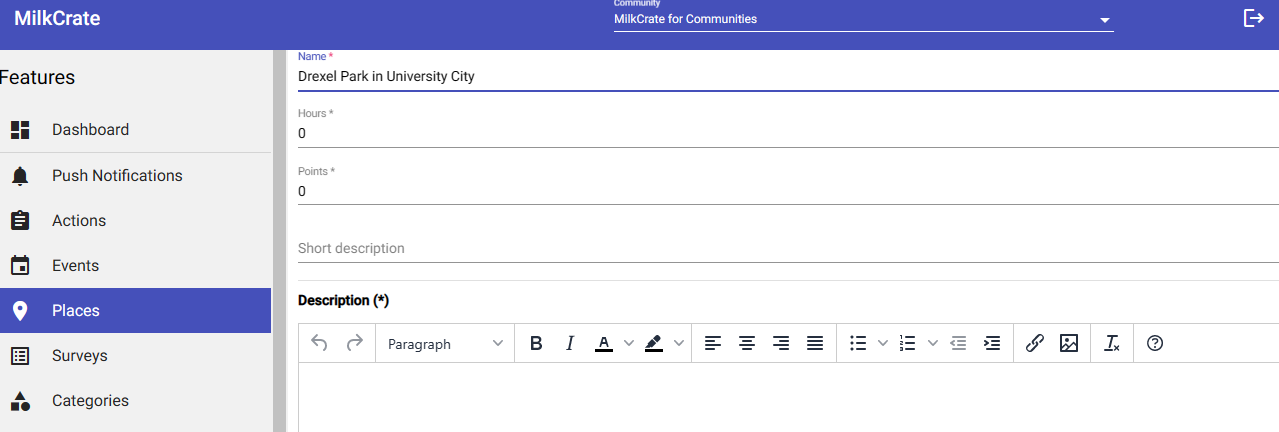
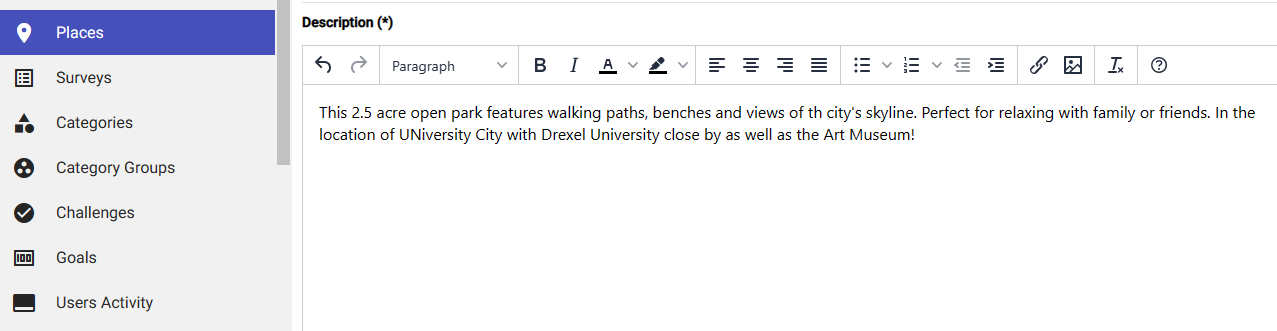
Description Field
This is what will appear in your app for users to read. Please note that our description is not robust and typically only displays text at this time.
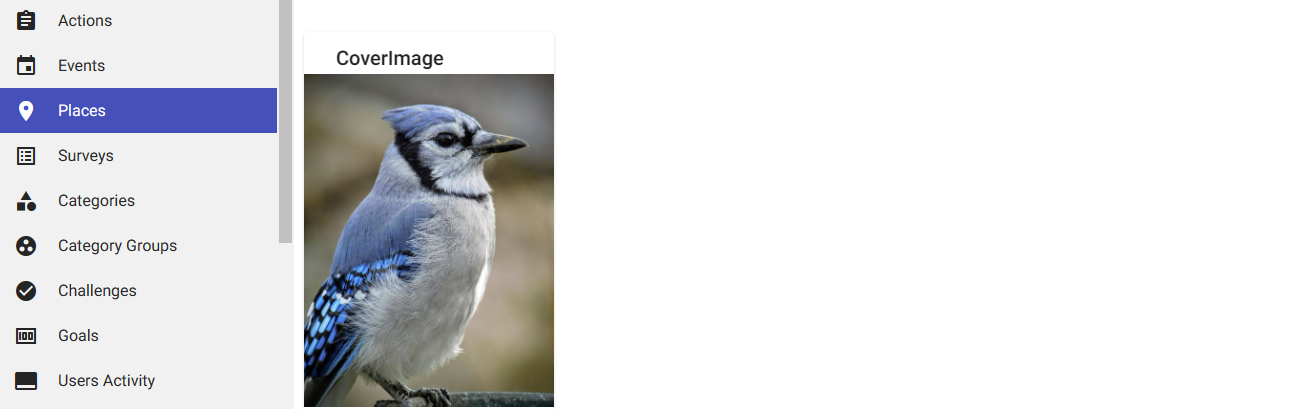
Cover Image Field
The cover image appears above your description and gives your users something nice to look at. If you do not include a cover image your category image will automatically appear. If you are using our internal video functionality your cover image will be cropped from a rectangle into a square. The recommended size for a cover image is a ratio of 16:9 landscape.
Points Field
Please assign the number of points a user should receive for completing the action.

Check-in Radius
The Check-in radius uses distance in ft. (feet). The check-in radius field should be a value number.
In order for users to check-in, they must be in the radius you have set for them. Keep in mind that each user can only be pinpointed to a 10ft level of accuracy. This means that setting your check-in radius to something like 100ft. may be difficult especially if the location is in a large building. Keeping the radius a higher number value (MilkCrate recommends 800ft.) will make check-in easier.
Things to Know
If a particular user is unable to check-in, it is probably because they have not enabled their location services with their provider. There are instructions for users in the app settings but the quickest way to have our system process the request again is for a user to delete the app and re-download. Don’t worry the user may log back into their account using the same username and password. Once they log in again the app will request access to their location. Users only need to give access while using the app for the places feature to work.
Categories Field
Categorize your locations into categories so your users can easily find the content they need. You can have the same location accessible from as many categories as you would like!
 Survey Field
You can attach an existing survey that will pop up on the screen once a user states they have checked in. The survey will replace the check-in button and stay visible for users to click "Open"
If users have not yet checked-in, they may not know there is an existing survey they should complete. We recommend letting your users know that the survey will appear after Check-in, or including this information within the 'Details Feild,' so your users know they should keep an eye out for the survey.
Visibility Field
When left empty the location will be visible to ALL users inside your app. IF you choose to have your location visible to ONLY a specific group of users you can select that here. If you add multiple groups anyone who has at least one of those groups will be able to see the location. This would be relevant for content that should only be visible to paying members or a specific age group of kids.
Repeatability Field
If your location should appear multiple times you can enable by entering the fashion in which you want the place to be repeated. This action is located under "Category" and over "Visibility".
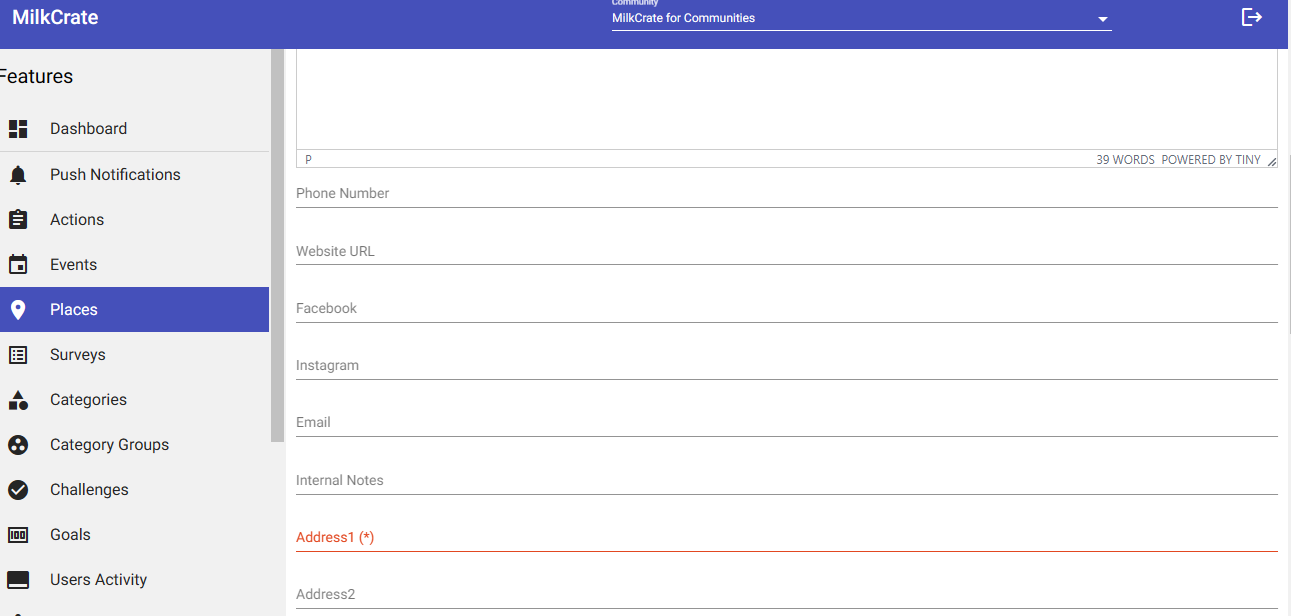
Additional Information
If your location requires more information such as Internal Notes, Phone number, social media links, etc. you may enter that information here located under the "Description":
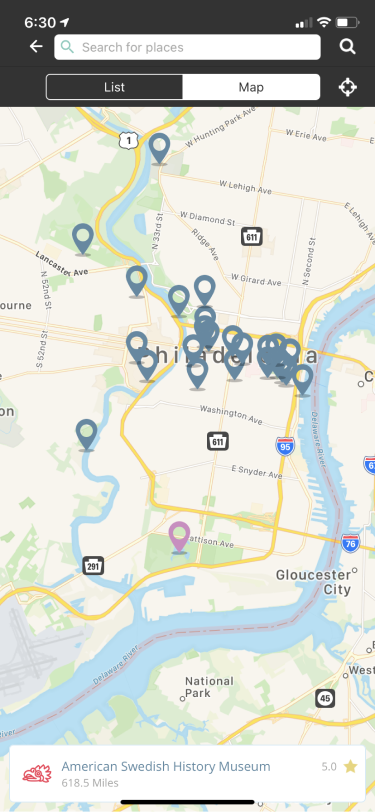
Map View, Category View, Place View
Map View

Category View

Place View


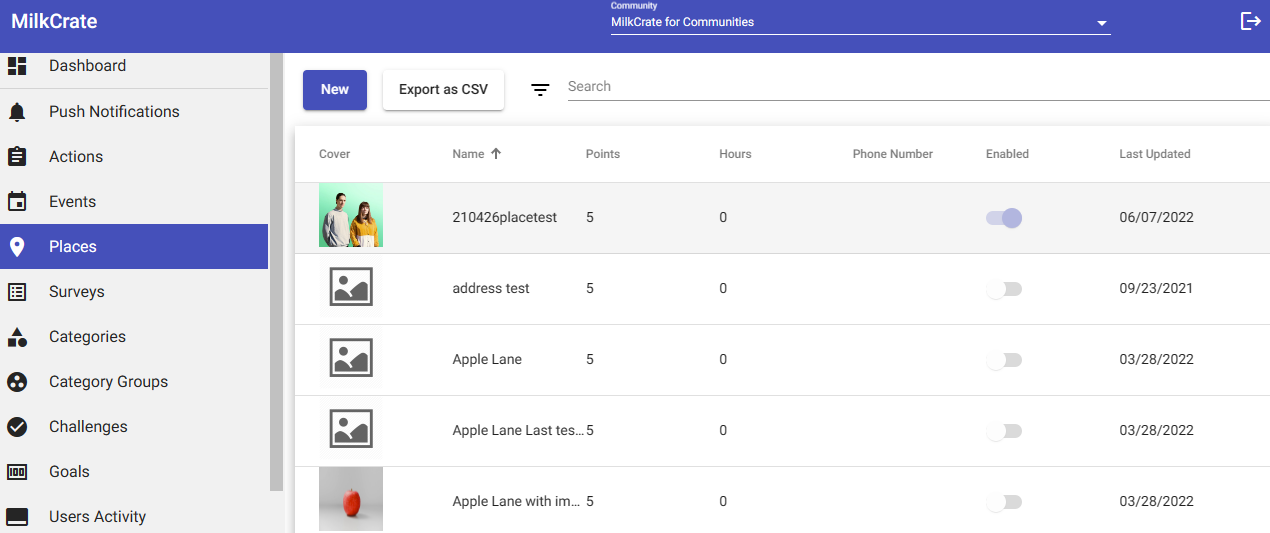
Step-by-Step Instructions
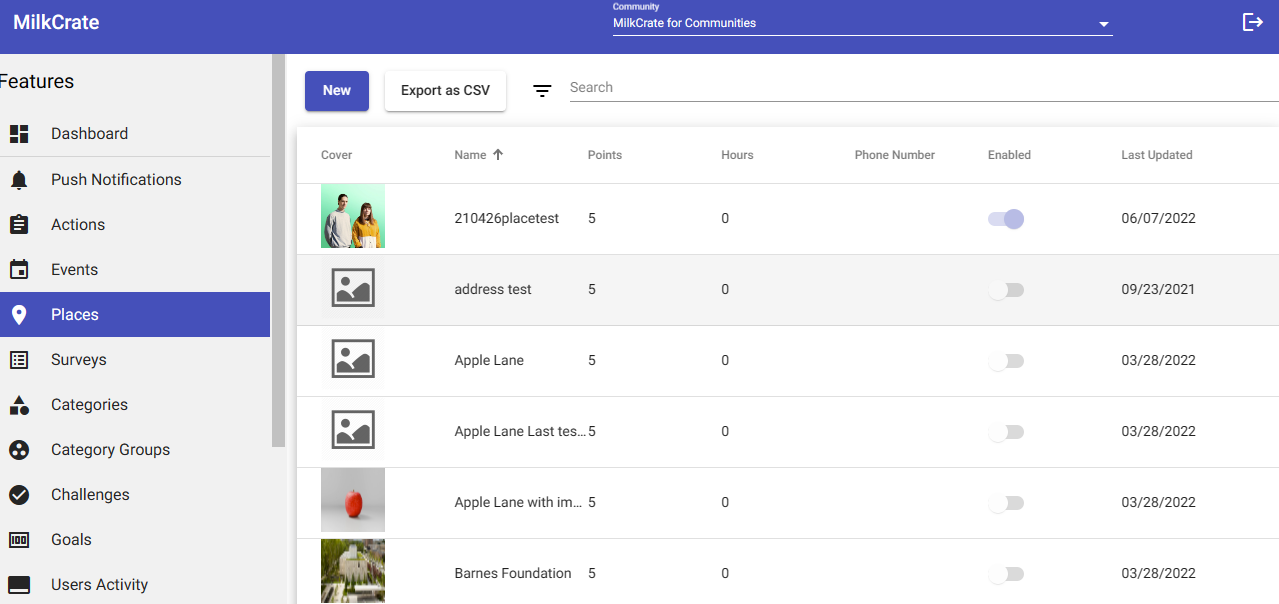
Select the Places category on the left-hand side. Here you’ll see a list of all the locations in your system.
1. To add a new Place to the system click the "New" blue button in the upper left-hand corner of the screen.
2. Make sure to Enable so that it shows up in the app.
3. Assign points that will be earned along with the hours.
4. Add a short description of the function and purpose of the place.
5. Add a Cover Image utilizing the recommended dimensions for the place, if you wish.
6. Input the Place's Address, if it exists.
7. Input any additional information like social media links, internal notes, or emails pertinent to the place.
7. Determine the check-in radius that users must be within to check-in. Please note users will only be able to check-in if they are within a 10ft radius of the location.
8. Assign your place a Category (note: multiple Categories can be assigned to a business, so assess where you feel the business fits in best).
9. Attach a survey that users can be directed to.
10. Determine the Visibility of users you would like to view this Place by adding groups if applicable.
11. Enter the type of repetition if your Place reoccurs more than once, and input the appropriate mins, hours, or days this repeats.
13. Once all of the information is in, save your business to the system using the button in the upper right-hand corner at the top of the page.
That's all! Check that your Place shows up in the directory!
The Function of Geocoding
What is Geocoding? Geo-verification means we can with 100% accuracy say that a user actually visited the location in question. Our system stores the specific latitude and longitude for all of your physical events which is why we require the full address and for you to confirm its location on the map in the Admin. We then place a perimeter around that specific location that blocks any users that are outside of that perimeter from checking in.
What should be check-in radius? The radius allows you to block users form checking in if they are outside of the radius, our default radius is 800ft. Each user can only be pin pointed to a 10ft level of accuracy. This means if you set a check-in radius of 100 ft the user might have difficulty especially if it is a large building, so keep it above 800ft.
Why can’t my users check-in? If a particular user is unable to check-in, it is probably because they have not enabled their location services with their provider. There are instructions for users in the app settings but the quickest way to have our system process the request again is for a user to delete the app and re-download. Don’t worry the user may log back into their account using the same username and password. Once they log in again the app will request access to their location. Users only need to give access while using the app for the places feature to work.
***IMPORTANT***
In previous iterations of the Admin, we have had a toggle feature for geocoding. Now we have included it as an automated function that does not need to be manually adjusted. When you enter an address for a place your user's location will be automatically recorded via geocoding.

Related Articles
Geocoding a Location
Geo-verification means we can with 100% accuracy say that a user actually visited the location in question. Our system stores the specific latitude and longitude for all of your physical events which is why we require the full address and for you to ...Block Types
Block Types Headers: Create headers, dividers and styled text for your app Images: Insert images like an organizational logo or sponsor logo Link: Create a visual link to an internal location within the app or an external location outside the app. ...6-Steps to Launching your MilkCrate App
Step 1: Prepare for Kick-off Please complete the following steps 48 hours before our scheduled Kick-Off meeting. Give our team some insight Metrics, Outcomes, & Data Add your team members Begin the developer application process Step 2: Structure ...Understanding and Setting Goals
Goals provide a clear path for user participation, giving you the ability to transform user obligations, projects, learning objectives, and more into obtainable goals. Both users and Admins can view a user’s progress, and completion of goals, making ...Layout and Blocks
Table of Contents Overview Block Types Overview Our blocks make it easy to customize the home screen of your app. Every customer app comes with a default home screen which can be changed at any time by following the steps below. Here are some things ...